1966 Impala
My 1966 Chevy info:
UPDATES!!
Current Specs
History
Pictures
Engine build pics
Build chart
1st motor (bad)
Tech / Misc:
Tech section
Links
Contact Info
![]()
Engine Bay | Ignition | Relays | Exhaust | Rear sway bar
Latest updates. As of 9-3-2004.
![]()

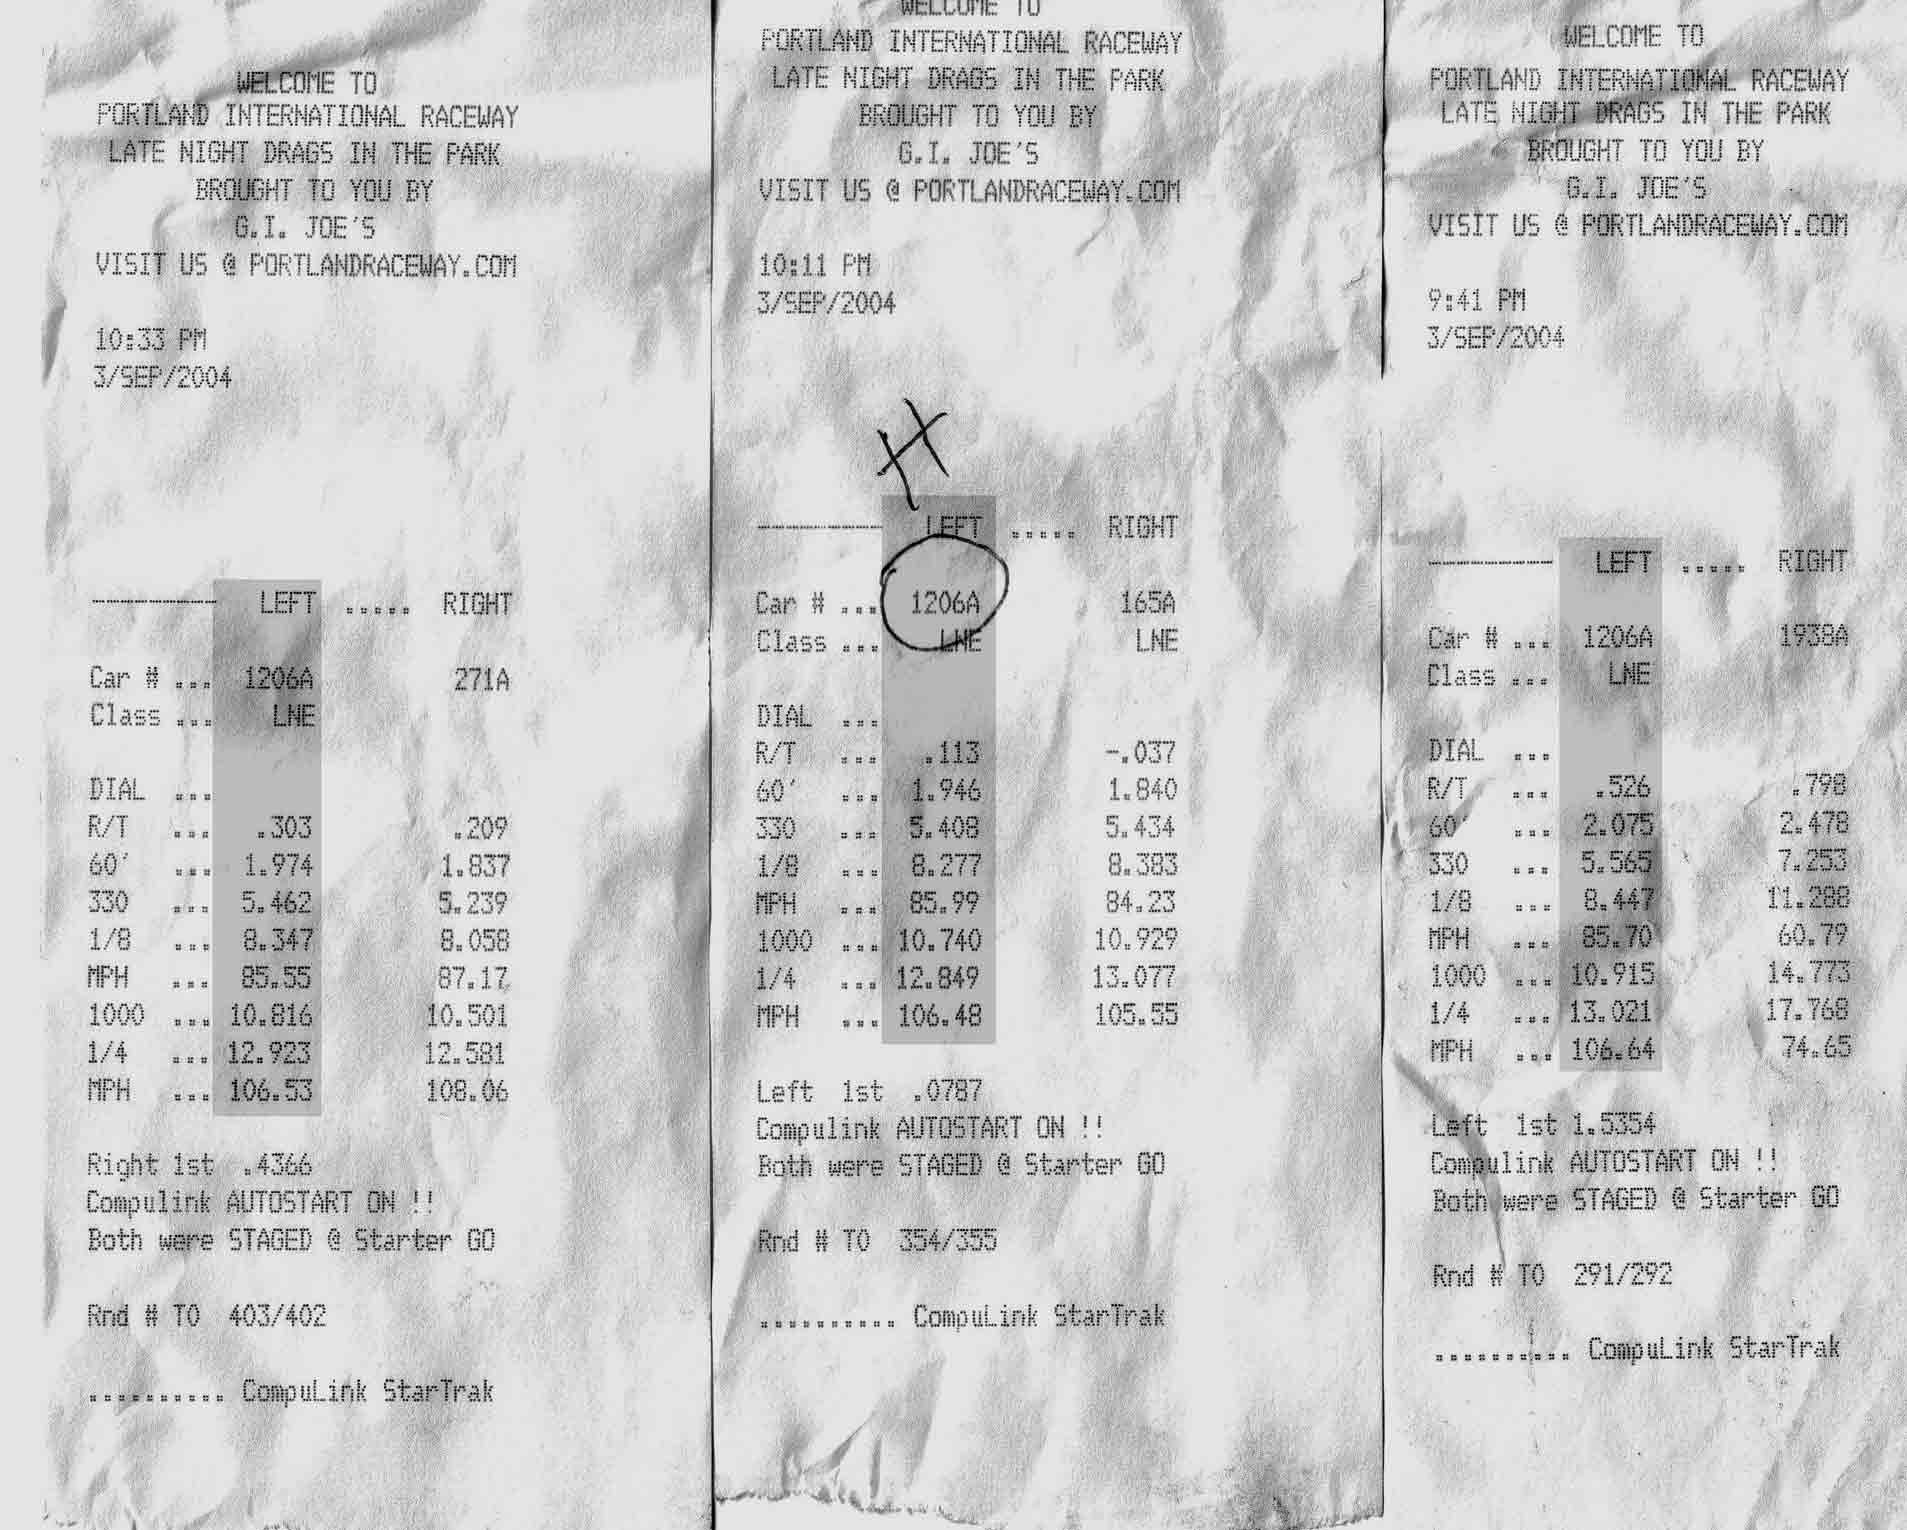
Finally broke 12s! 5 more dragstrip runs with the car but this time with the TH400 transmission being rebuilt so 2nd gear actually worked along with a stage 2 shift kit to improve shifting. My track number is 1206A and are highlighted gray in the timeslips. The first pass I am unsure what I raced, I think it was a fairly stock civic but I'm not positive. The second pass was against a silver WRX, the same one that beat me durring the 6-27-2004 drag runs but this time I caught back up to him and passed him for the win. You may also notice on the 2nd run time slip the Circled H, that was when I got kicked off the track for not having a helmet for running 12s, so I borrowed one for the rest of the night. The last 3 passes where agasint a friend I know and his 67 caprice with 468 big block plus street slicks. He gave me a great 3 runs and I was probably trying to hard since I got a couple red lights while attempting to get a good launch.
Updates. As of 6-27-2004.
![]()

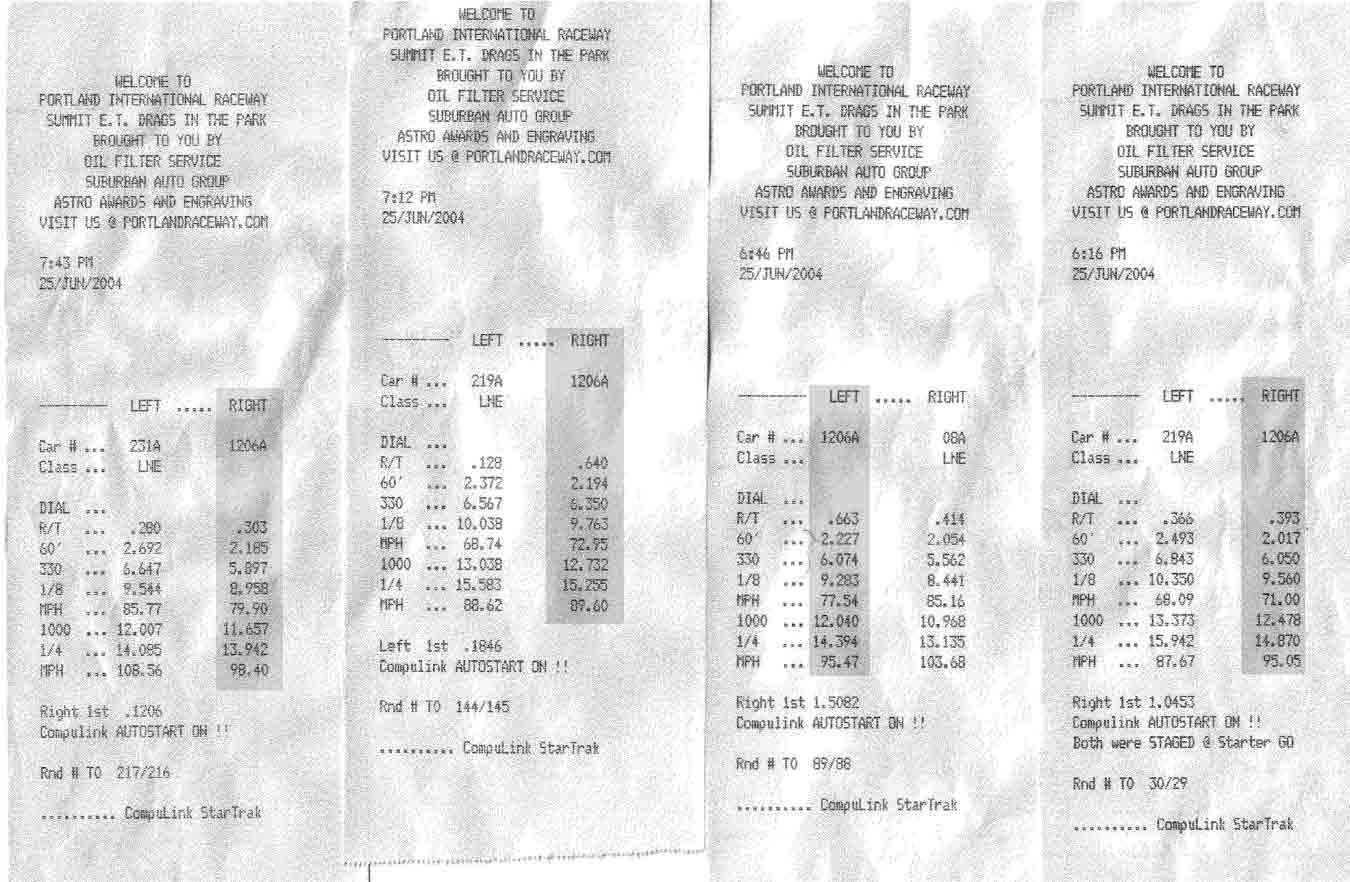
Here are the first 8 dragstrip runs with the car and new motor. My track number is 1206A and are highlighted gray in the timeslips. Also check out the video section if you would like to see all 8 of these runs for yourself.
Updates. As of 6-21-2004.
![]()
![]()
![]()
![]()
![]()
![]()
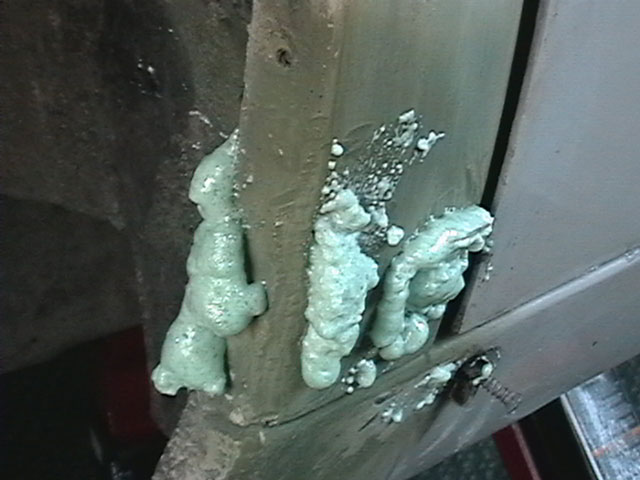
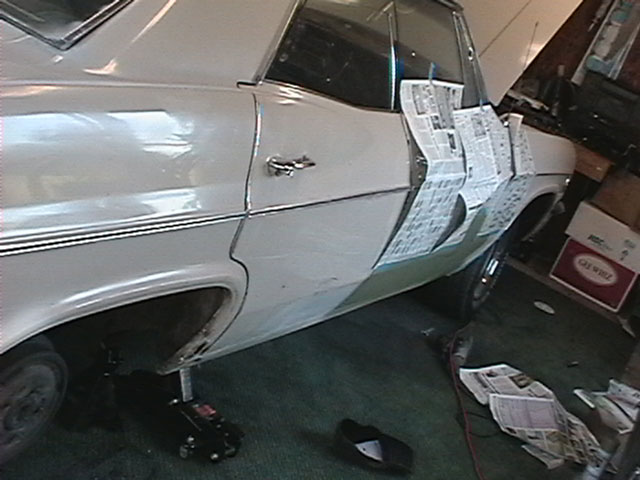
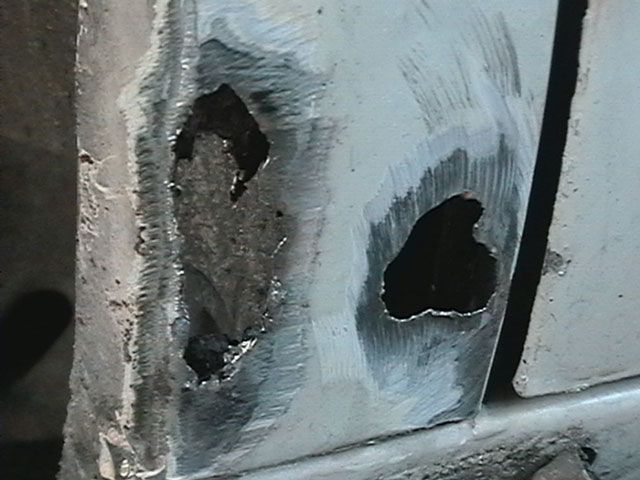
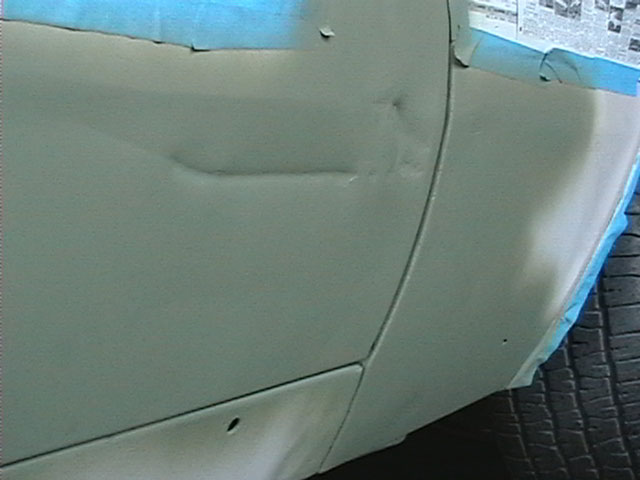
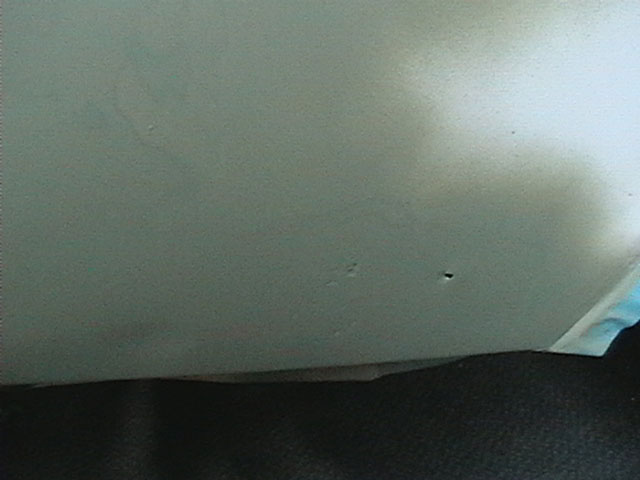
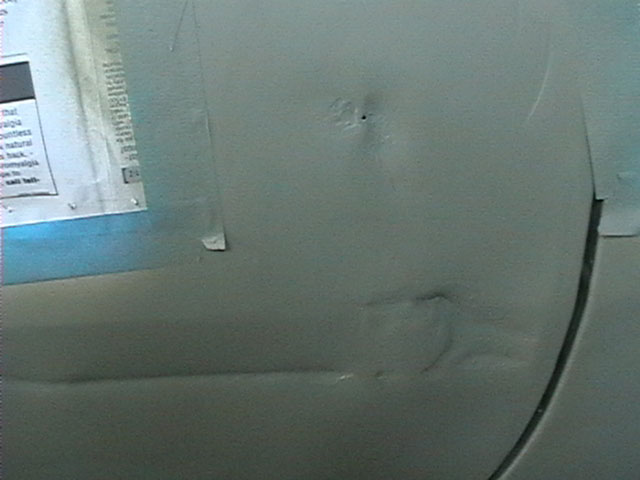
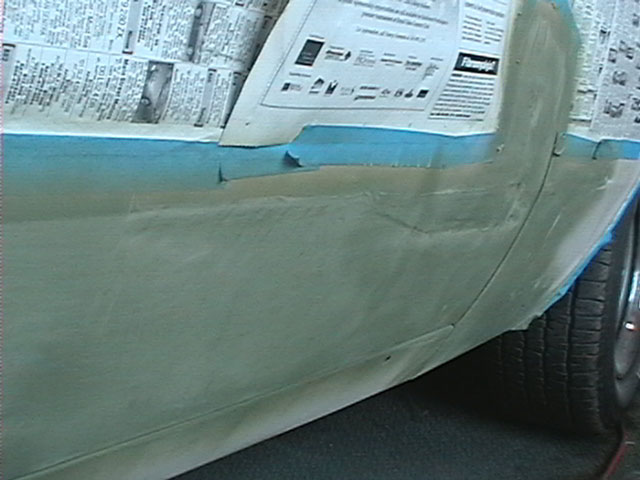
I decided to take the car to the track this coming friday and wanted to finish up a little more body work before then. This is the passenger side damage caused by the trailer I was towing the car 75 miles to the nearest place that does mandrel bent exhaust systems when my trailer blew a tire and jack knifed the truck. The car slide into the wheel guards of the trailer causing the long dents down the side. The holes near the rear wheel was a little rust spot that I decided to take care of that ended up being rusted out holes. I sanded them down to bare metal on both sides and sprayed it all down inside and out with a hefty dose of rust conversion cemicals. I then filled the are with some poly expanding foam as a base to lay a peice of fiberglass over, it also helps keep moisture off the back of the panel. I will sand this down till is just under the surface of the metal and lay a patch of resin and fiber glass over it then sand it all smooth and finish off with bondo if nessasary. The door was sanded to bare metal and has a green coat of metal prep and is 400 grit sanded and ready to be filled with bondo. There was no easy access to behind the panel to be able to work the metal any smoother so bondo will have to do the finish work.
Updates. As of 11-24-2003.
![]()
![]()

![]()
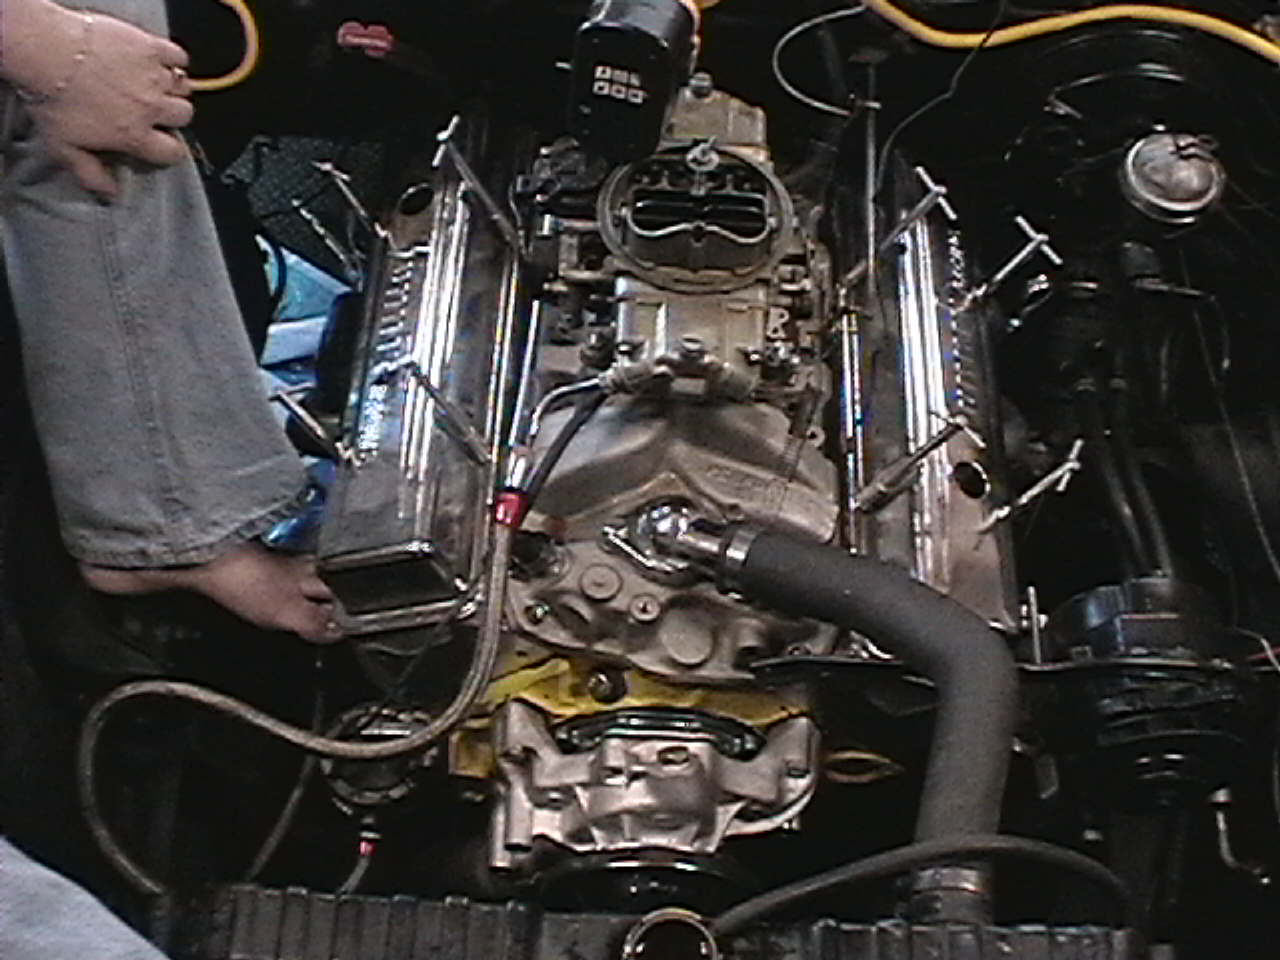
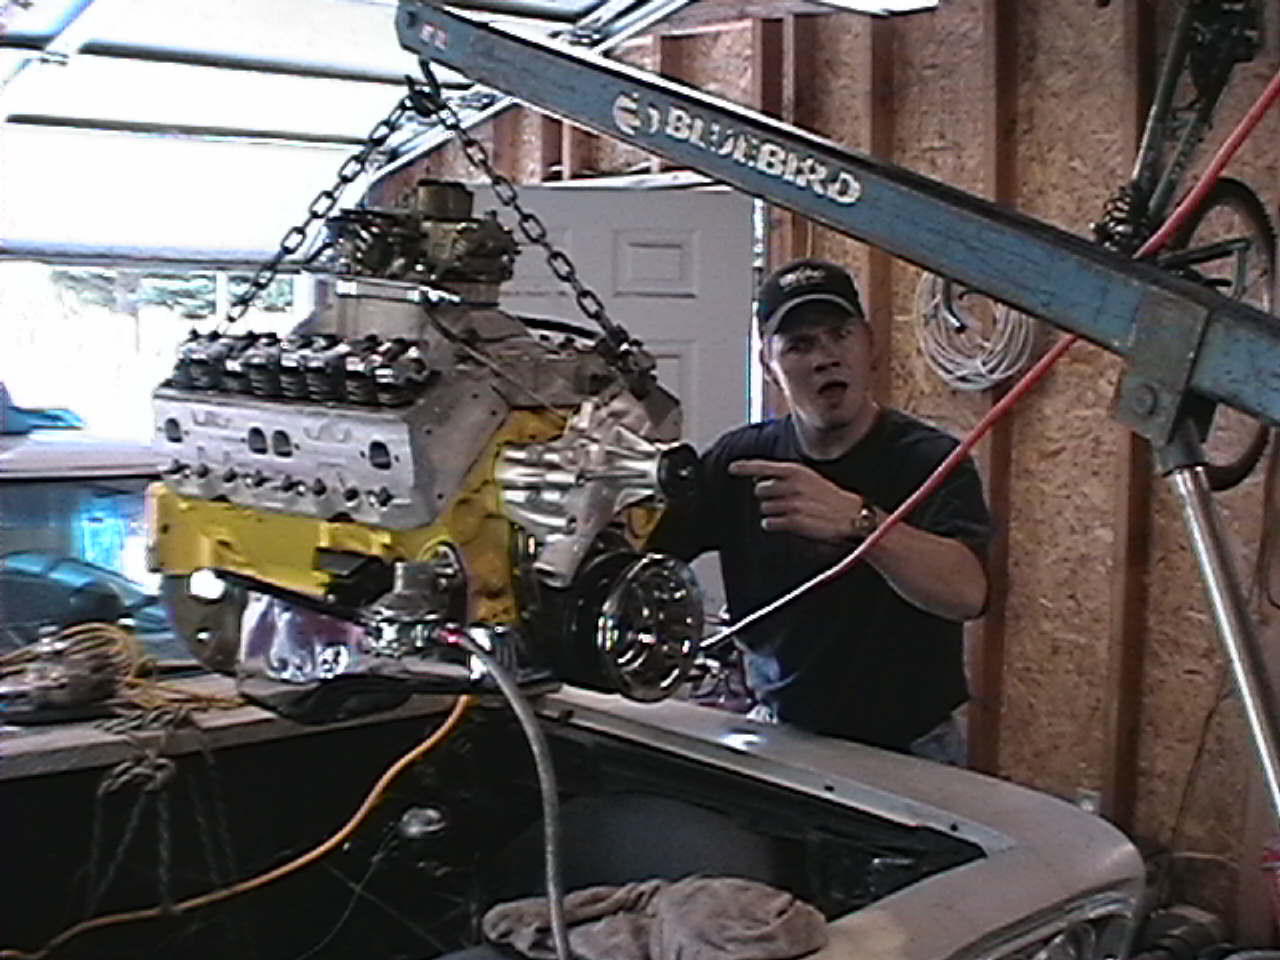
Its nice to have friends and even nicer to have a girl friend that can pick up a tool now and then. One of my buddies (we call him furdog) was over to assist me with the motor install and to make sure he got to hear it run for the first time. My fiancee is up there on the car running the priming drill to 50psi while I am under the car turning the crank over with the torque wrench to make sure ever inch of the motor is covered in good breaking lube.
Tranny: After getting the motor running and tuned in. I decided to see how quick it was. I had a daily driver turbo car (1990 Eclipse turbo) that I upped boost to 19psi and it ran 14.4 at 96.7 mph front wheel drive. So I had my buddy pull it up beside me in the Impala at a designated location. The first time I eased it out of the hole giving the turbo car a chance to spool into boost then proceeded to pull away nicely. What fun, so we did it again. This time I was gonna show my friend what the Impala would really do. 3,2,1-GO! I squeeze the pedal just to the point of tire spin and start to feather it right up to rev limiter (6500rpm) and right before I hit rev limiter I kicked the shifter to second in just enough time to bounce off the rev limiter a few times then it whacked into second gear with a chirp of the tires but before that second was over the rpms jumped right back up to rev limiter but the tires where not spinning.. So I back out of the throttle then touch off again but not much happened except the rev limiter. So I poped to 3rd gear and it started to go again. Then I knew 2nd gear was toast. It was broke by why stop now? I still have 2 gears left. We lined up a third time and went for it, this time I took it up to rev limit and skipped past 2nd right to third and proceeded to leave that Eclipse in tranny smoke. So we can easily say that my Impala is faster then 14.4 in the 1/4 while skipping 2nd gear :)
Stay tuned as I try to find a 6 speed stick or auto tranny to throw in. I estimate spring to early summer of 2004 I will be putting in a new tranny. For now I will just skip 2nd and use pure torque.
Updates. As of 4-1-2003.
![]()
![]()
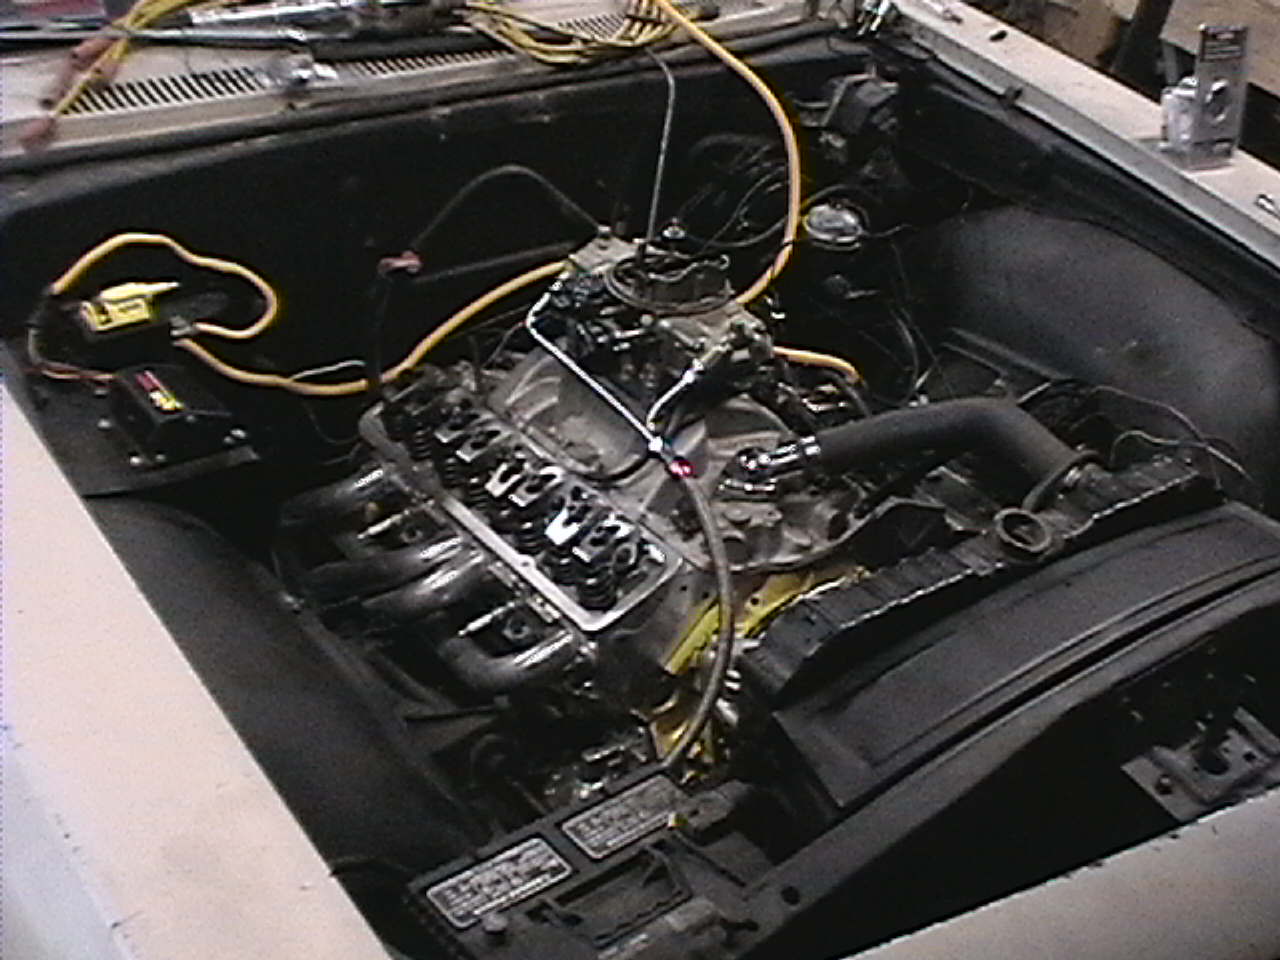
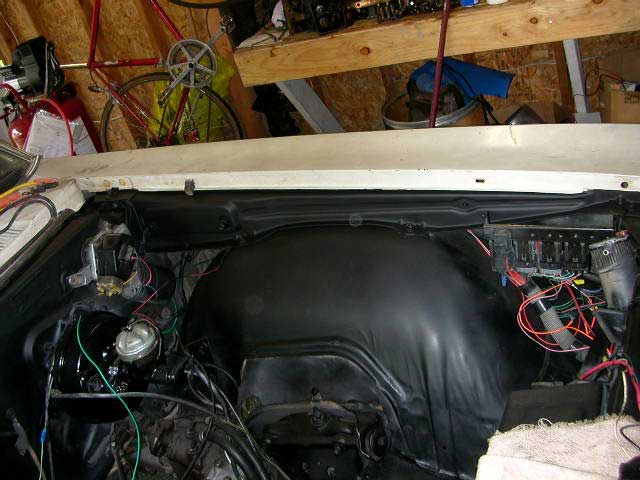
Pictures of my redone engine bay. Smoothed lots of dings and dimples that where on the fire wall then painted in flat black to attempt to contrast the attention to the shiny motor once its put in. Everything was a bit dusty when I took the pics so its looks better in person.
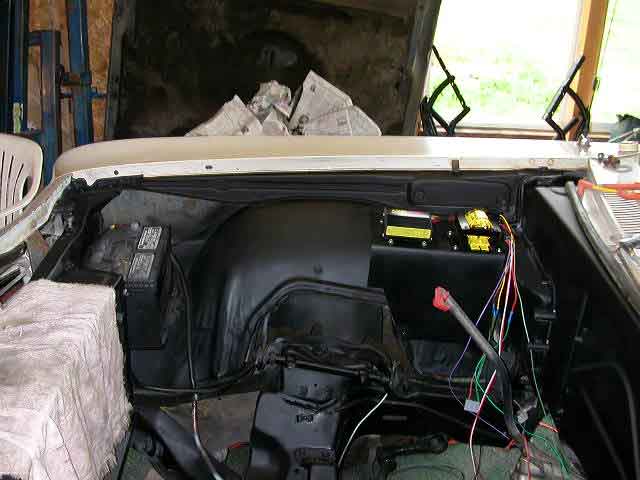
![]()

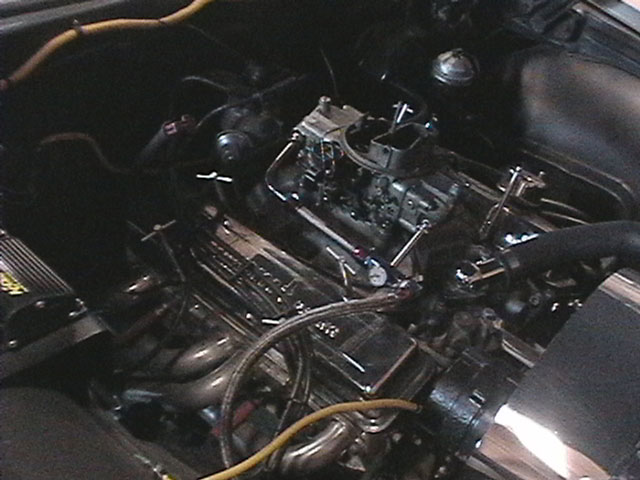
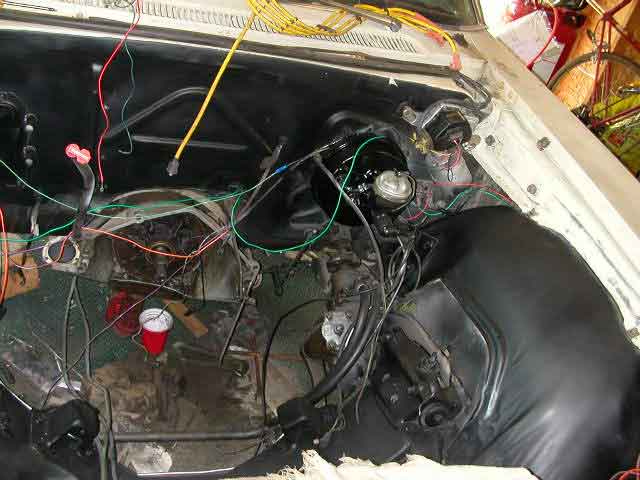
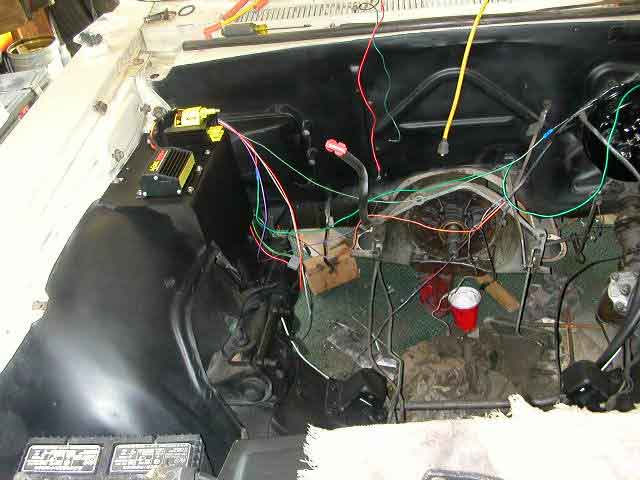
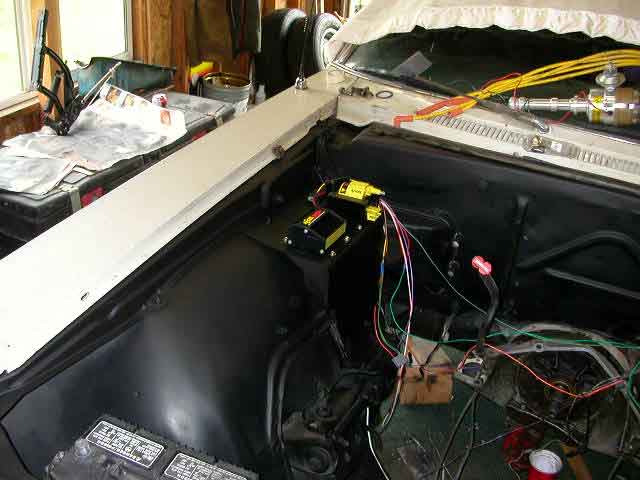
Here is my custom made sheet metal panel that I made to hold my Accel 300+ Electronic Multispark Discharge Ignition with rev limiter and matching high voltage coil. I didn't want to drill holes into my firewall to install these there. This is also bolted on so it can be removed incase access to the heater core is ever required. The panel is 1/16th sheet metal from the local lowes. It was kinda flimzy but once It was bent into shape and the ignition stuff mounted on it stiffened up nicely.
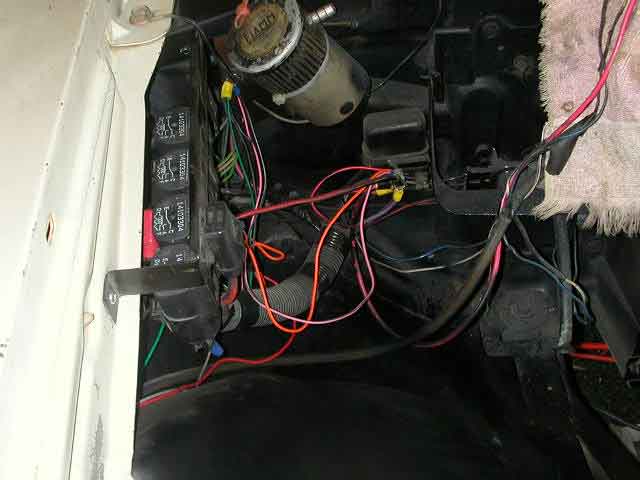
![]()
Here we have my relay bar that I added to help take the electrical load off the cars old wiring and ignition switch. These relays where out of a junk yard 1991 Chevy Cavalier or something similar. Cost me $12 bucks and was well worth it. One relay controls the low beam head lights, one for brights, then one for the Accel 300+ ignition, and the 4th one is not used yet but it might be used for electric cooling fans if I put them in.
![]()
![]()
![]()
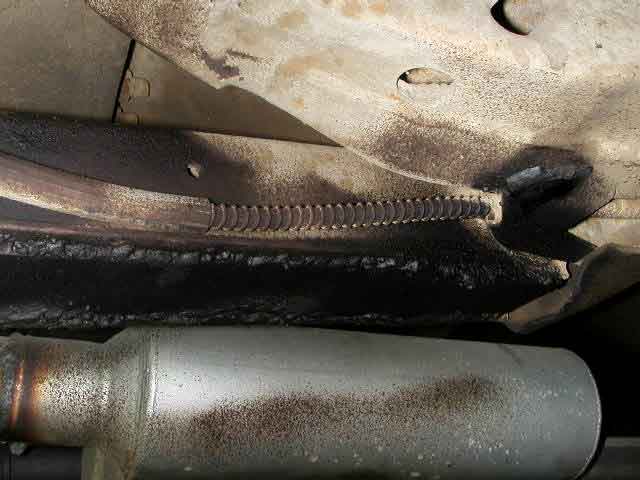
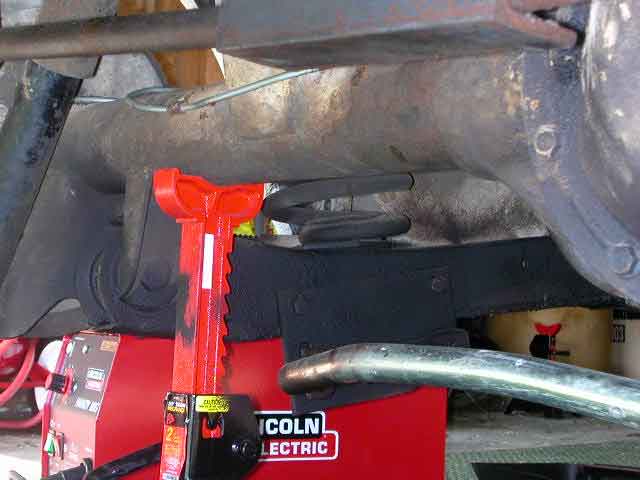
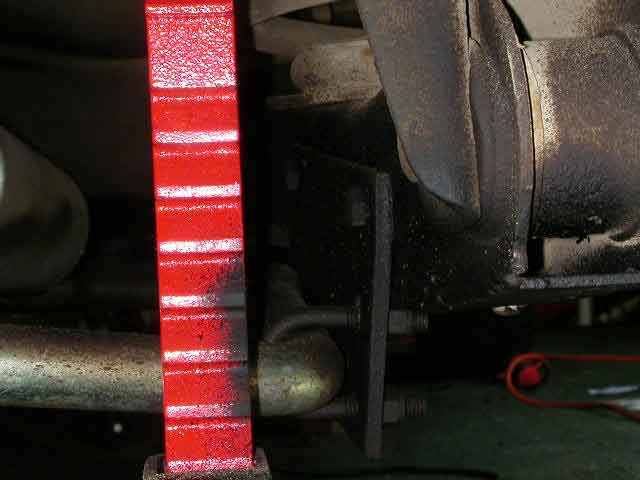
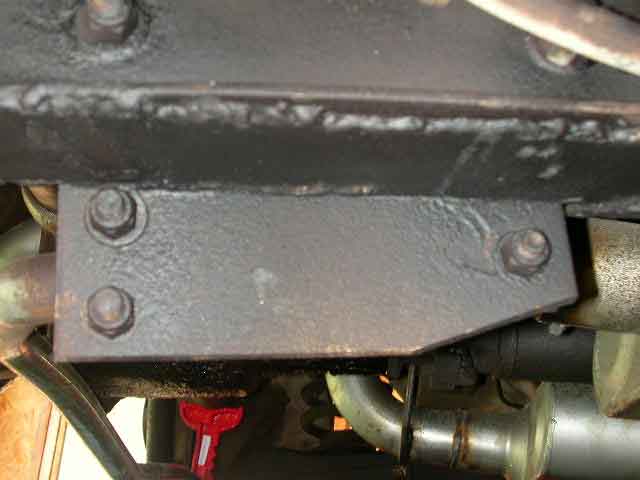
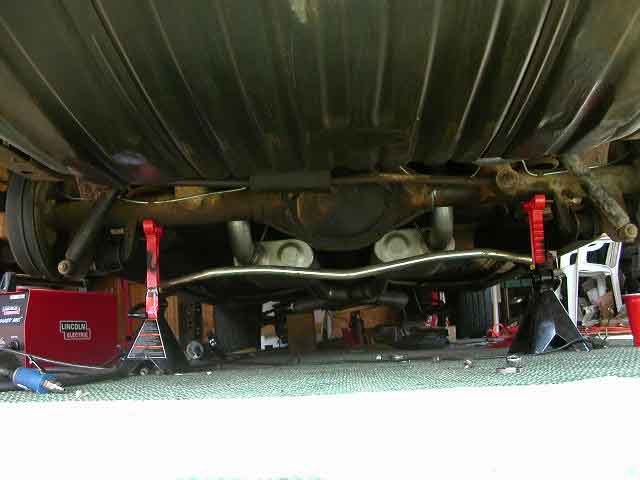
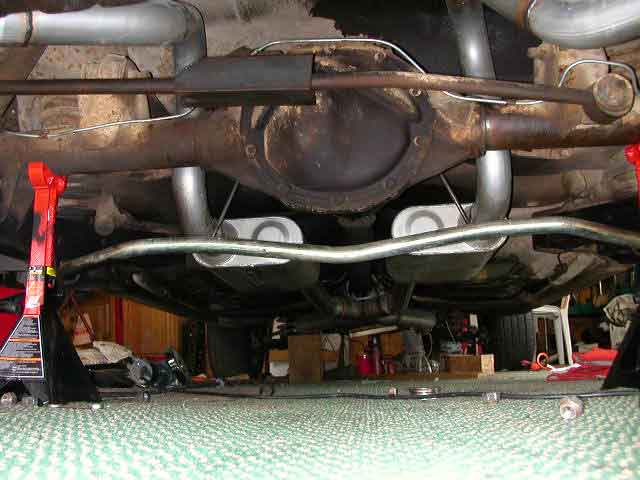
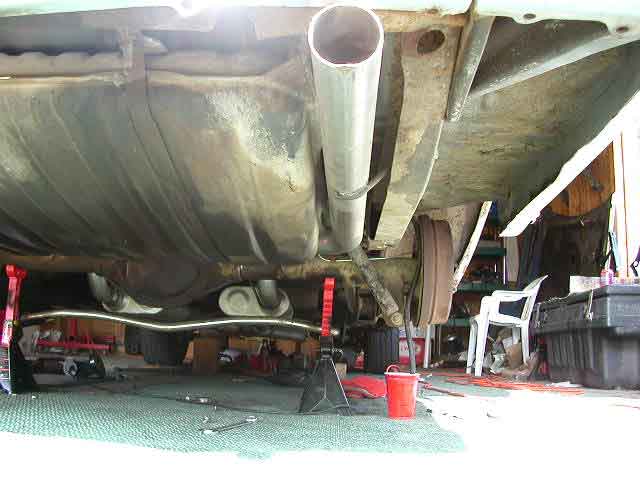
Rear sway bar! I bought this back in 2001 and I never installed it. When I was installing it I could not find my instructions so I just kinda guessed where it was suppost to go, and I came really close, it was only a half inch off. So I called it good, I may have to shim it later but I doubt it. In the second to pictures you can also see where I boxed the rear lower control arms which is where the sway bar connects. I wanted to make sure the sway bar didn't bend them up to bad when I start throwing this car into the corners. I know the welds are not that great, but I was laying on my back welding upside down and its only a low amp wire feed welder, but still it should hold!
![]()
![]()
![]()
![]()
![]()
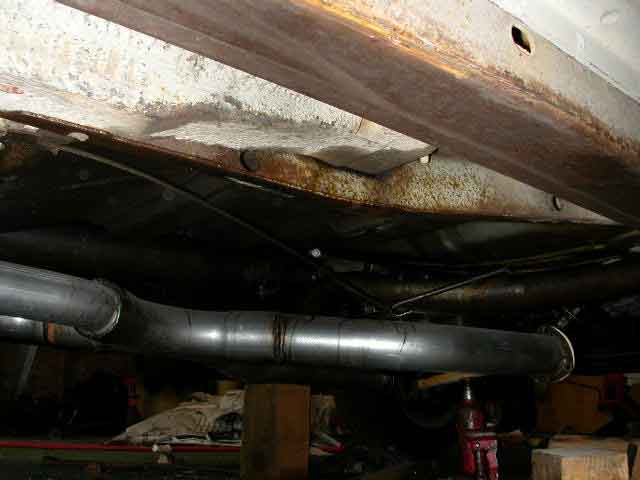
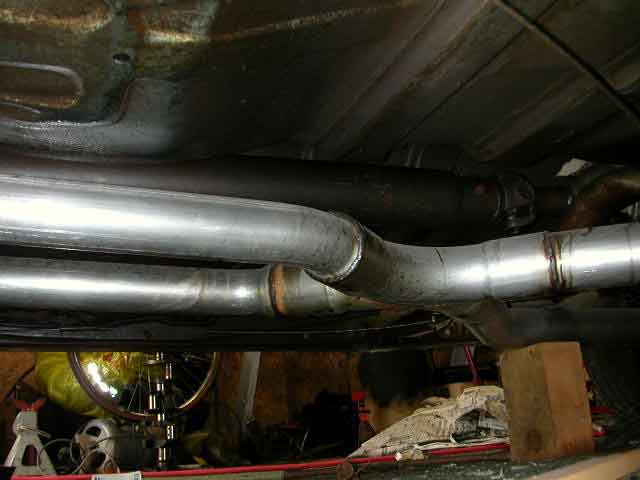
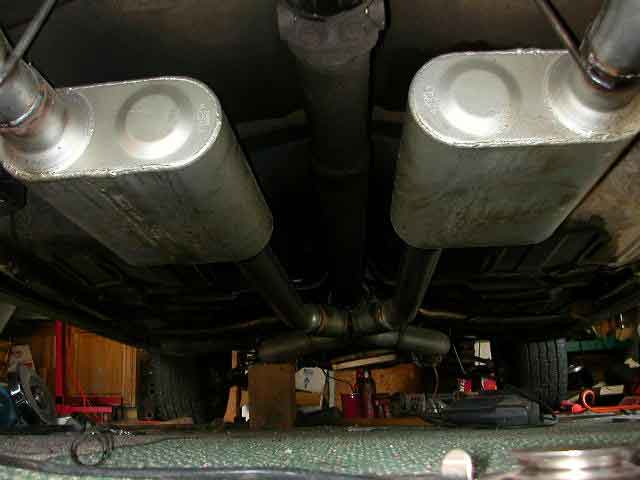
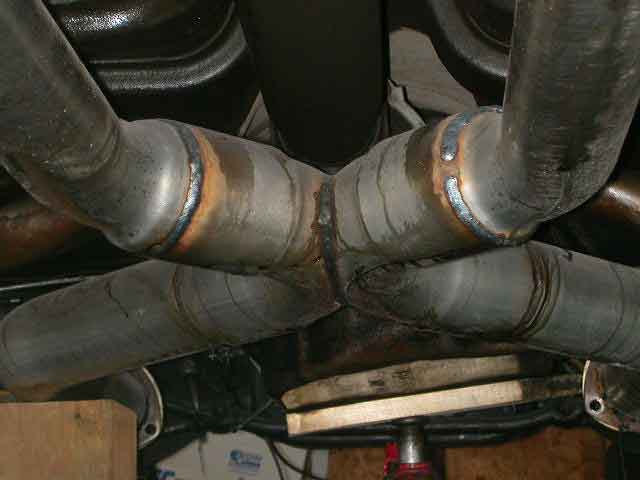
Finally my exhaust. Full dual 2.5" mandrel bends, X-pipe, with dual 40 series flow masters running all the way to the rear bumper. No chrome tips yet as I need to straighten my rear bumper since its dented and hangs down about a half inch to low for the chrome tips to clear. I was surprized by how quite the exhaust was at idle but once you stomped the pedal it came alive to let everyone know there was a powerful v8 under that 4 doors hood!
Please send me pictures of your Impalas, and descriptions of engine,
interior, history, and any other relevant information and it will
be posted in the readers rides section on this site for others to
enjoy. I plan to improve the quality if this web to be an awesome
resource for everyone, Including help with restoring and rebuilding
the Impalas themselves. Make sure files aren't to big to email.
Mail to: HellTriX@speed-racer.com